How checklists work
Checklists are built from templates. You create a template once, attach it to one or more packages, and Check Cherry automatically adds it to every booking that uses those packages. Staff can check off items as they complete them, and you can control who sees and edits each checklist.
- Track equipment load-in and load-out
- Assign setup tasks to specific staff members
- Set due dates on individual checklist items
Creating a checklist template
Manage → Checklist Templates
Go to Checklist Templates.
Click New Checklist.
Give the checklist a name and add your line items.
In the checklist settings, choose which packages this checklist applies to and set the visibility.
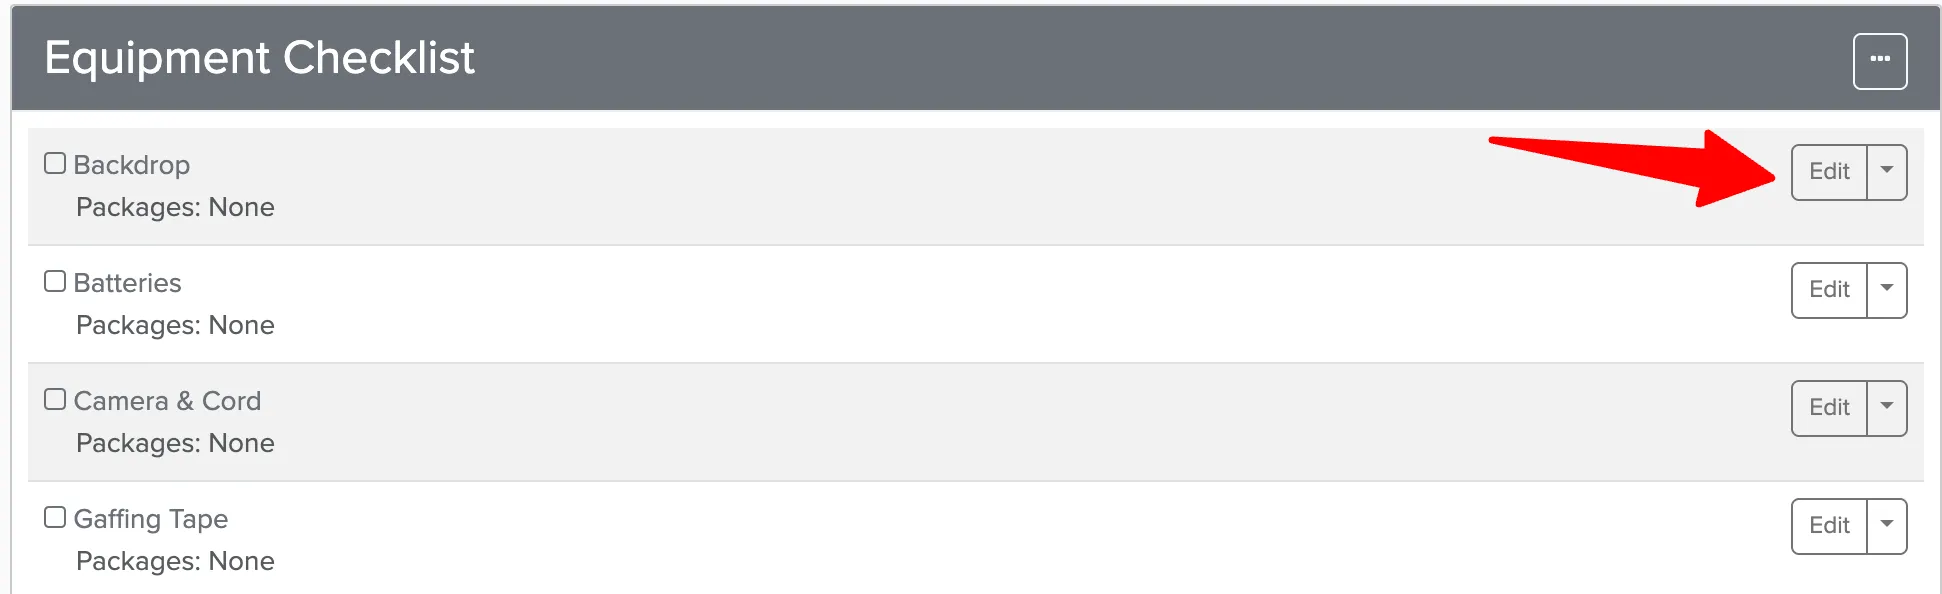
Click Edit next to any line item to assign it to specific staff, link it to packages, or set a due date.
Checklist settings
Each checklist template has a few key settings that control how and where it appears:
- Name — the title of the checklist, visible to anyone with access.
- Visibility — controls whether items appear in your consolidated To-do List.
- Permissions — controls who can see the checklist on bookings.
If you have different gear for different packages, create a separate checklist for each. That way staff always see exactly what's needed for the event they're working — nothing more, nothing less.
Checklists on bookings
Once a checklist is attached to a booking, it appears on the checklist tab of the booking. Staff can check off items as they complete them. This works well for load-in and load-out verification — you can see at a glance whether everything has been accounted for before and after the event.
Checklists can be added to a booking manually as well, not just through auto-assign. This is useful for one-off tasks specific to a particular event.