Whether you're winding down your business, switching tools, or just taking a break, cancelling should be straightforward. A little prep beforehand keeps you from losing anything you still need, like client records or money that's still owed to you.
Before you cancel
Once the account is closed, you won't be able to log in to look something up. Most people find it useful to take a few minutes first to cover these:
- Export any records you want to keep, such as client lists, bookings, and payment history, from the Reports page under Sales.
- Check for upcoming bookings. Clients with events on the calendar will stop receiving automated emails and reminders from Check Cherry once the account is closed, so decide how you'll stay in touch with them.
- Look for unpaid balances. If clients still owe you money, collect it first so it doesn't get lost in the shuffle.
- Remove embedded online booking widgets and lead forms from your website so visitors don't land on something that no longer works.
Brands share a single Check Cherry account. If you run more than one brand under the same account, cancelling closes the account for all of them, not just one.
Cancelling your account
Your subscription is managed from the billing page. Start there to review your plan and see what's currently active.
Account → Billing
Go to Billing.
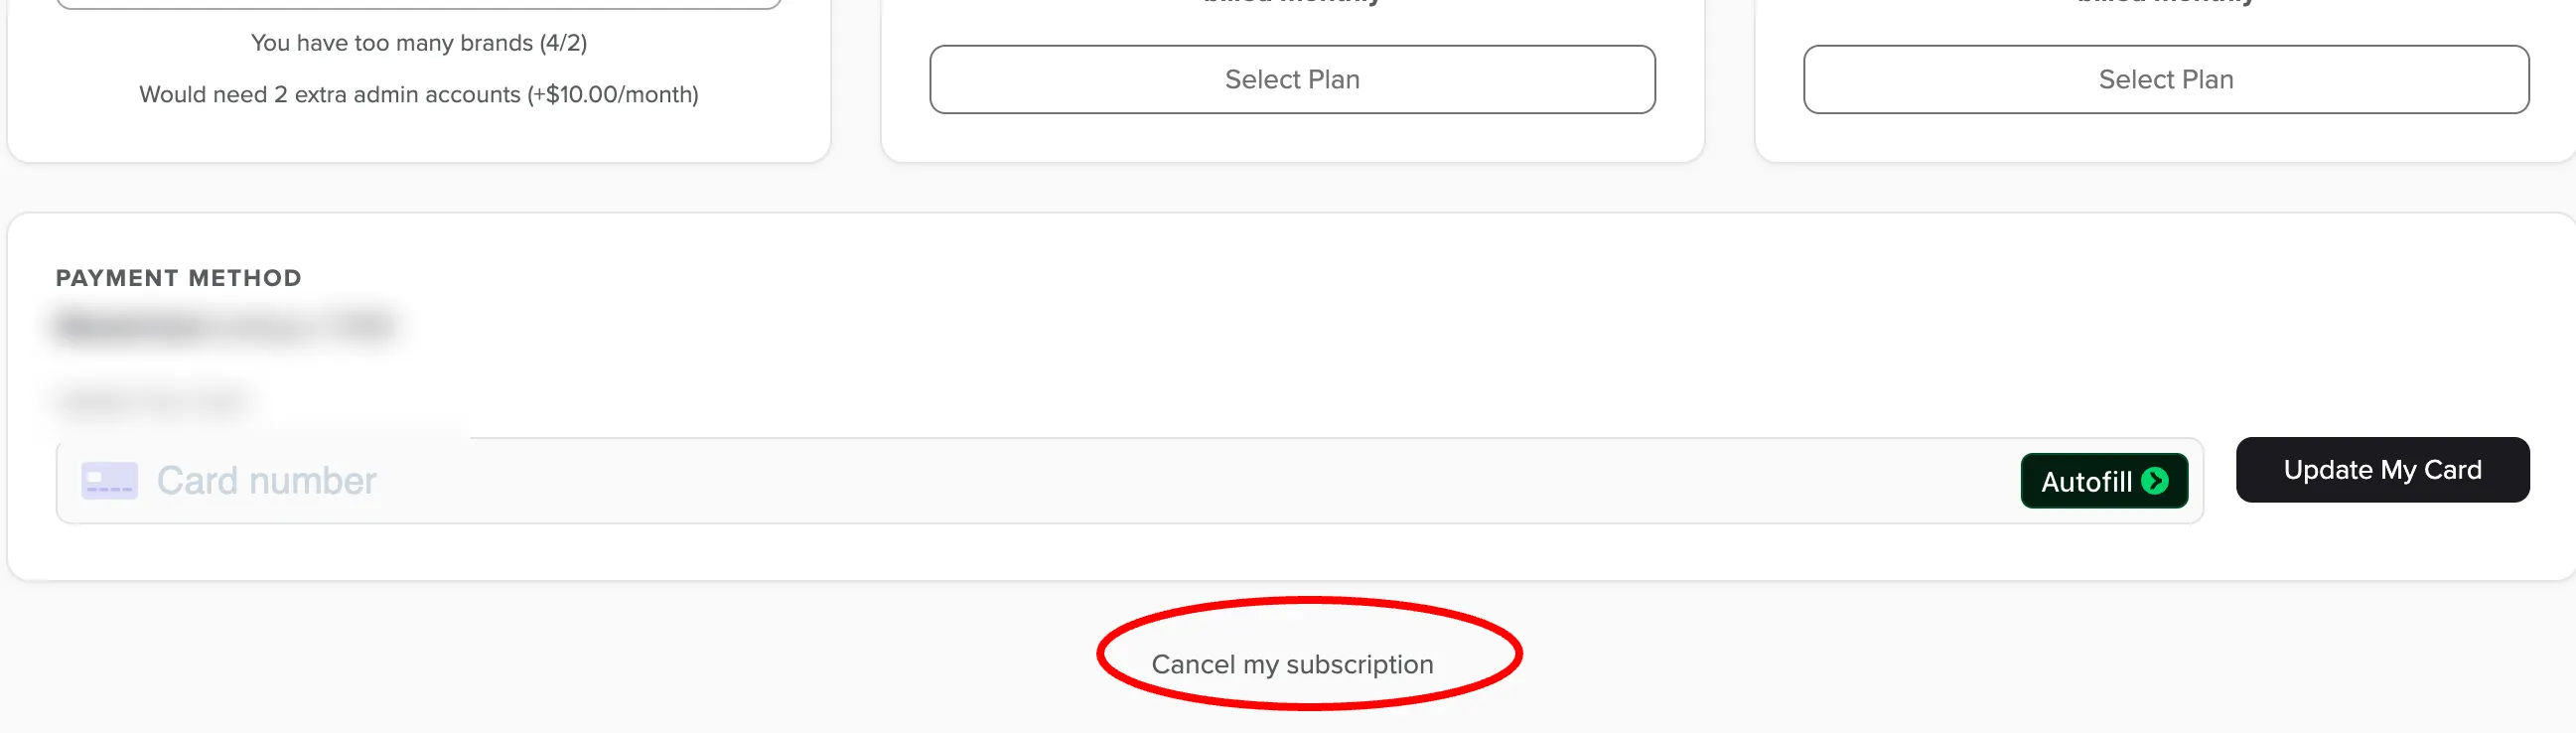
Scroll to the bottom of the page and click Cancel.
Click the Yes button to confirm and continue to cancel your subscription. If you don't see one, open chat (the chat bubble in the lower right) and tell us you'd like to cancel.