With Bespoke Booth enabled, clients pick a Bespoke Booth template on the Designs tab of their booking and personalize it in your widget.
Their choice and personalization answers are saved to the booking, so you have everything you need to finish the design.
Before you start
- A Bespoke Booth membership with a client widget, such as yourname.boothwidget.com.
- A Check Cherry admin login.
Enable Bespoke Booth
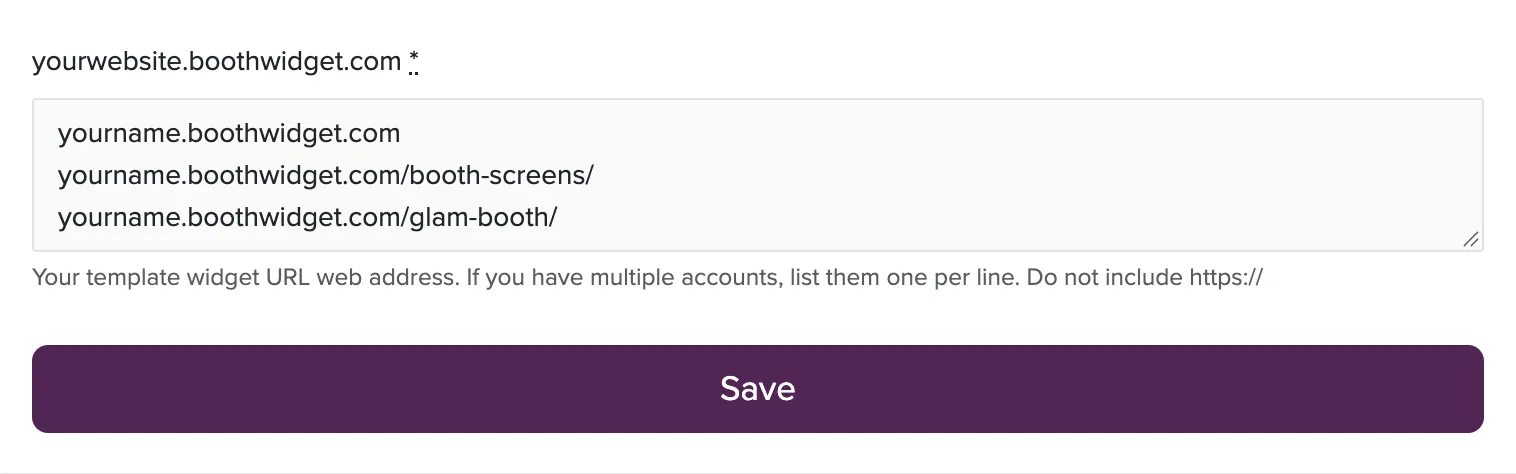
Add your widget as a design collection
Clients see nothing until you add your widget as a design collection.
Offer a different widget for each product
Most members run a separate Bespoke Booth widget for each product, such as one for strips and one for 360. A separate widget is the only way to limit which templates a client can pick.
| Templates | Widget address |
|---|---|
| Strips | yourname.boothwidget.com |
| 360 | yourname360.boothwidget.com |
| Booth screens | yourname.boothwidget.com/booth-screens/ |
| Glam Booth | yourname.boothwidget.com/glam-booth/ |
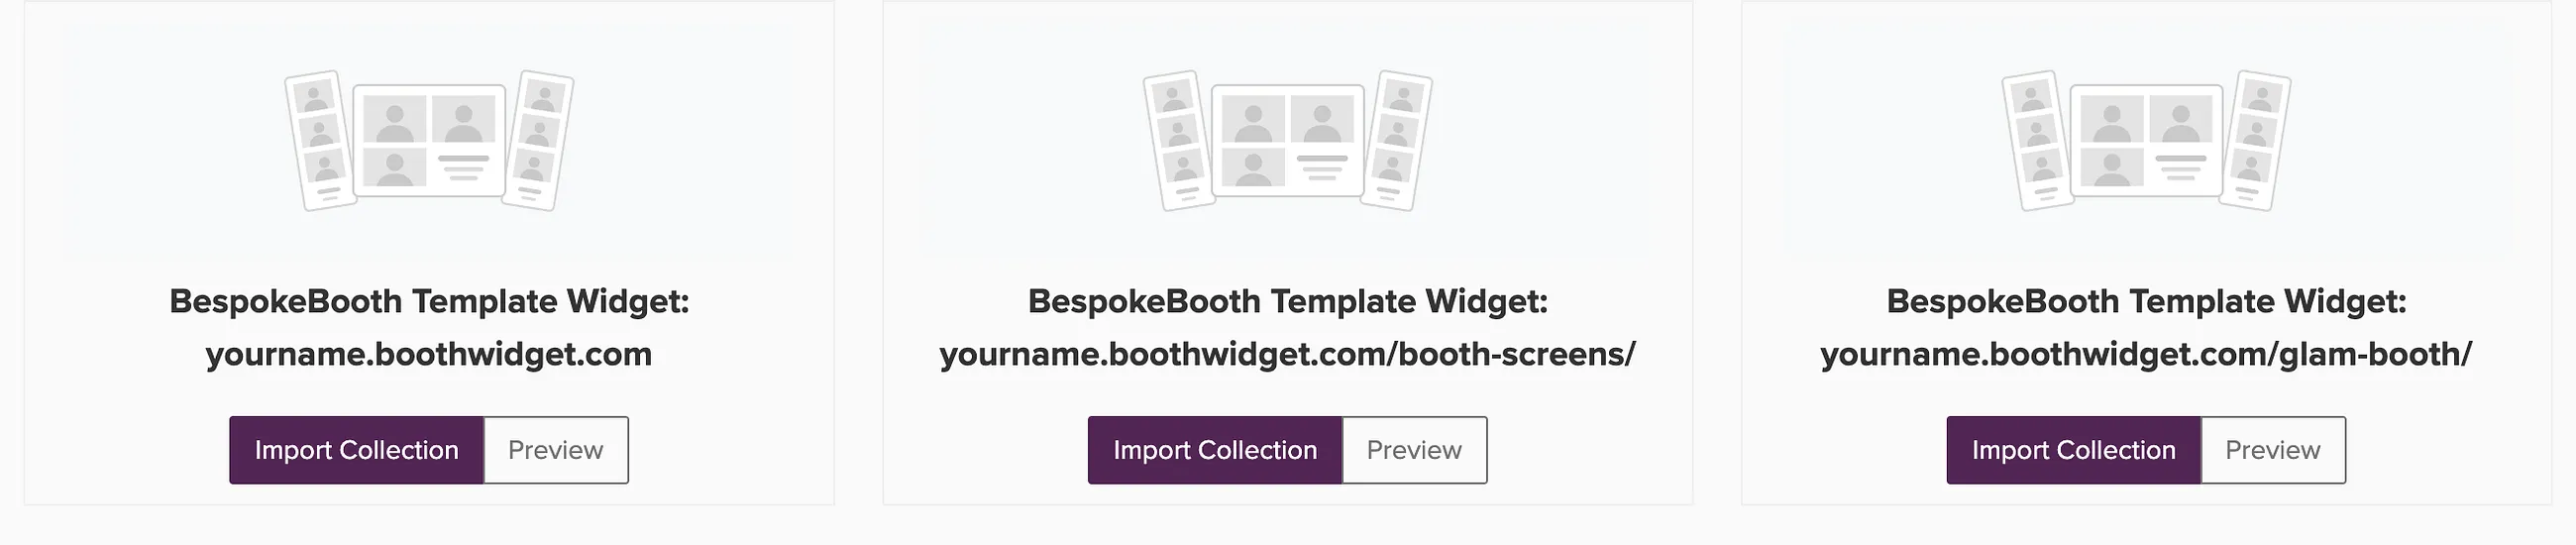
Booth screens and Glam Booth are separate pages of your widget, so they work the same way. You can also paste an address you filtered in Bespoke Booth by layout, frames or theme.
Show the right collection for each package
A new collection is offered on every package. If you have a collection for each product, limit each one to the packages it fits.
To tie a collection to an add-on, see How do I show design templates when a specific add-on is booked?
Add it to bookings you already have
New bookings get the collection automatically. Upcoming bookings you already have need a sync.
Sync again whenever you change Enabled for Packages. See Apply changes to existing bookings.
What your clients see
Your widget opens on the Designs tab of the booking. The client picks a template and personalizes it in the widget.
Their choice and personalization answers are saved to the booking, and Check Cherry sends the design selection email, the same as for any other collection. To change who receives it or what it says, see How does the design template selection email work?
Changing your widget address
Go to Integrations, click Configure on Bespoke Booth, update the address and click Save.
With a single address in the setting, your collections switch to the new address automatically. Once you list more than one address, each collection keeps showing the widget it already had. To offer a new address, import it as its own collection.
Disconnecting
Open Integrations, click Configure on Bespoke Booth and click Disconnect. See What will happen if I disconnect a template provider integration?
Help with your templates
For questions about your templates, widget or membership, contact Bespoke Booth support. For anything in Check Cherry, chat with us using the chat bubble in the lower right.